
 3743
3743
How to sign into Google Chrome on an iPad
This article will discuss three topics:
- How to turn on the iPad and open Google Chrome
- How to sign into Google Chrome
- How to determine if you are signed into Google Chrome.
Topic 1: How to turn on the iPad and open Google Chrome
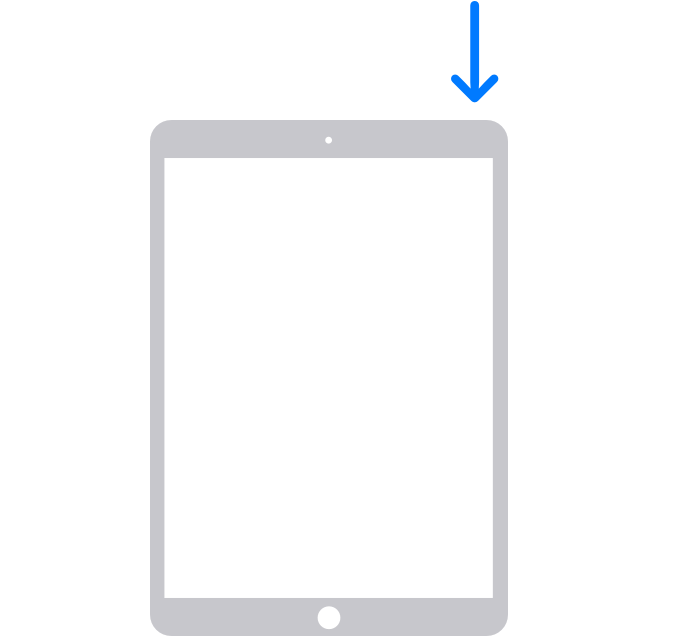
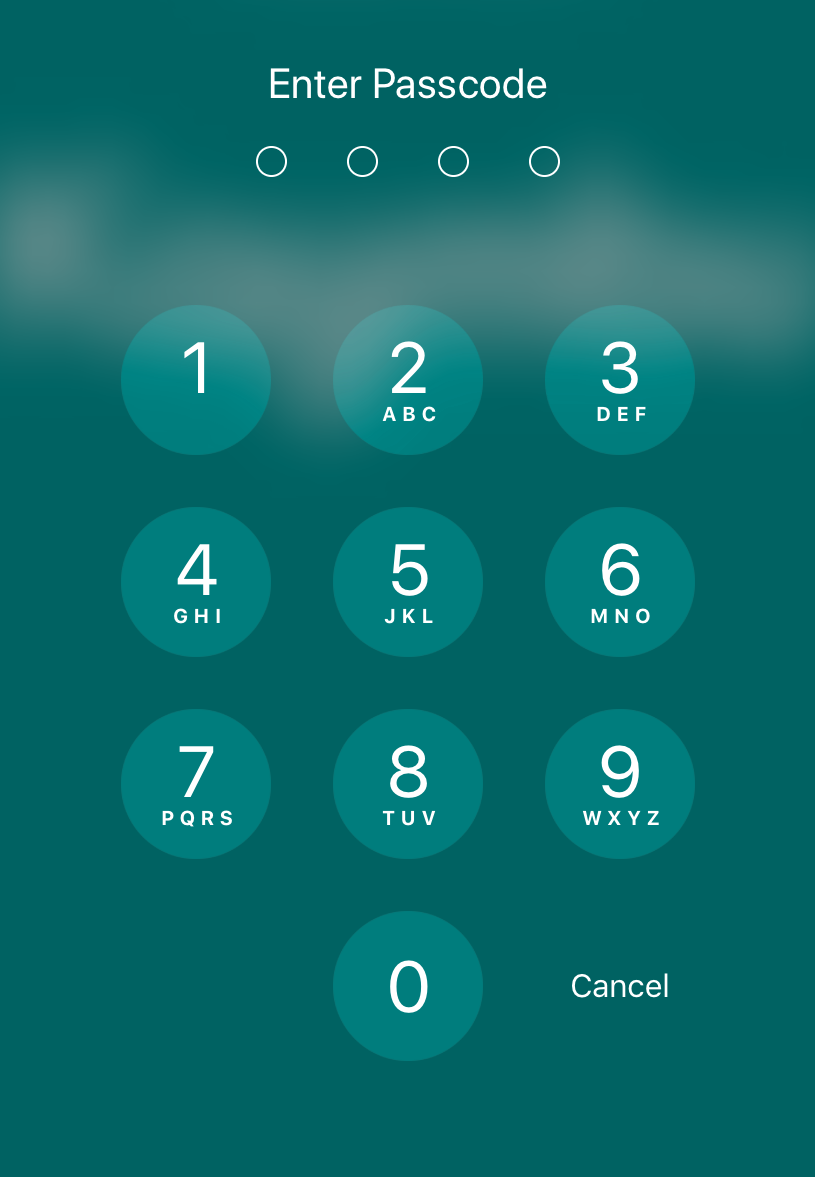
Tip: Completing this step will unlock the iPad and present the "Home Screen"

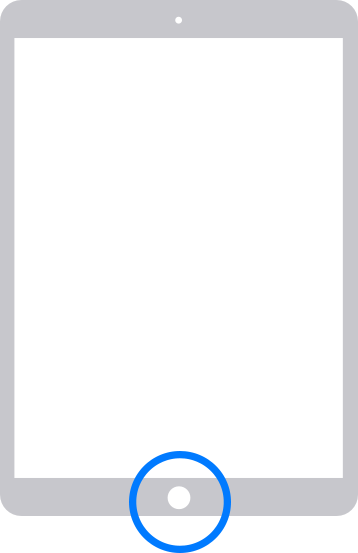
Tip: The "Home Button" opens the iPad's "Home Screen," which is where application icons are located. Try swiping left and right with your finger to locate different applications.
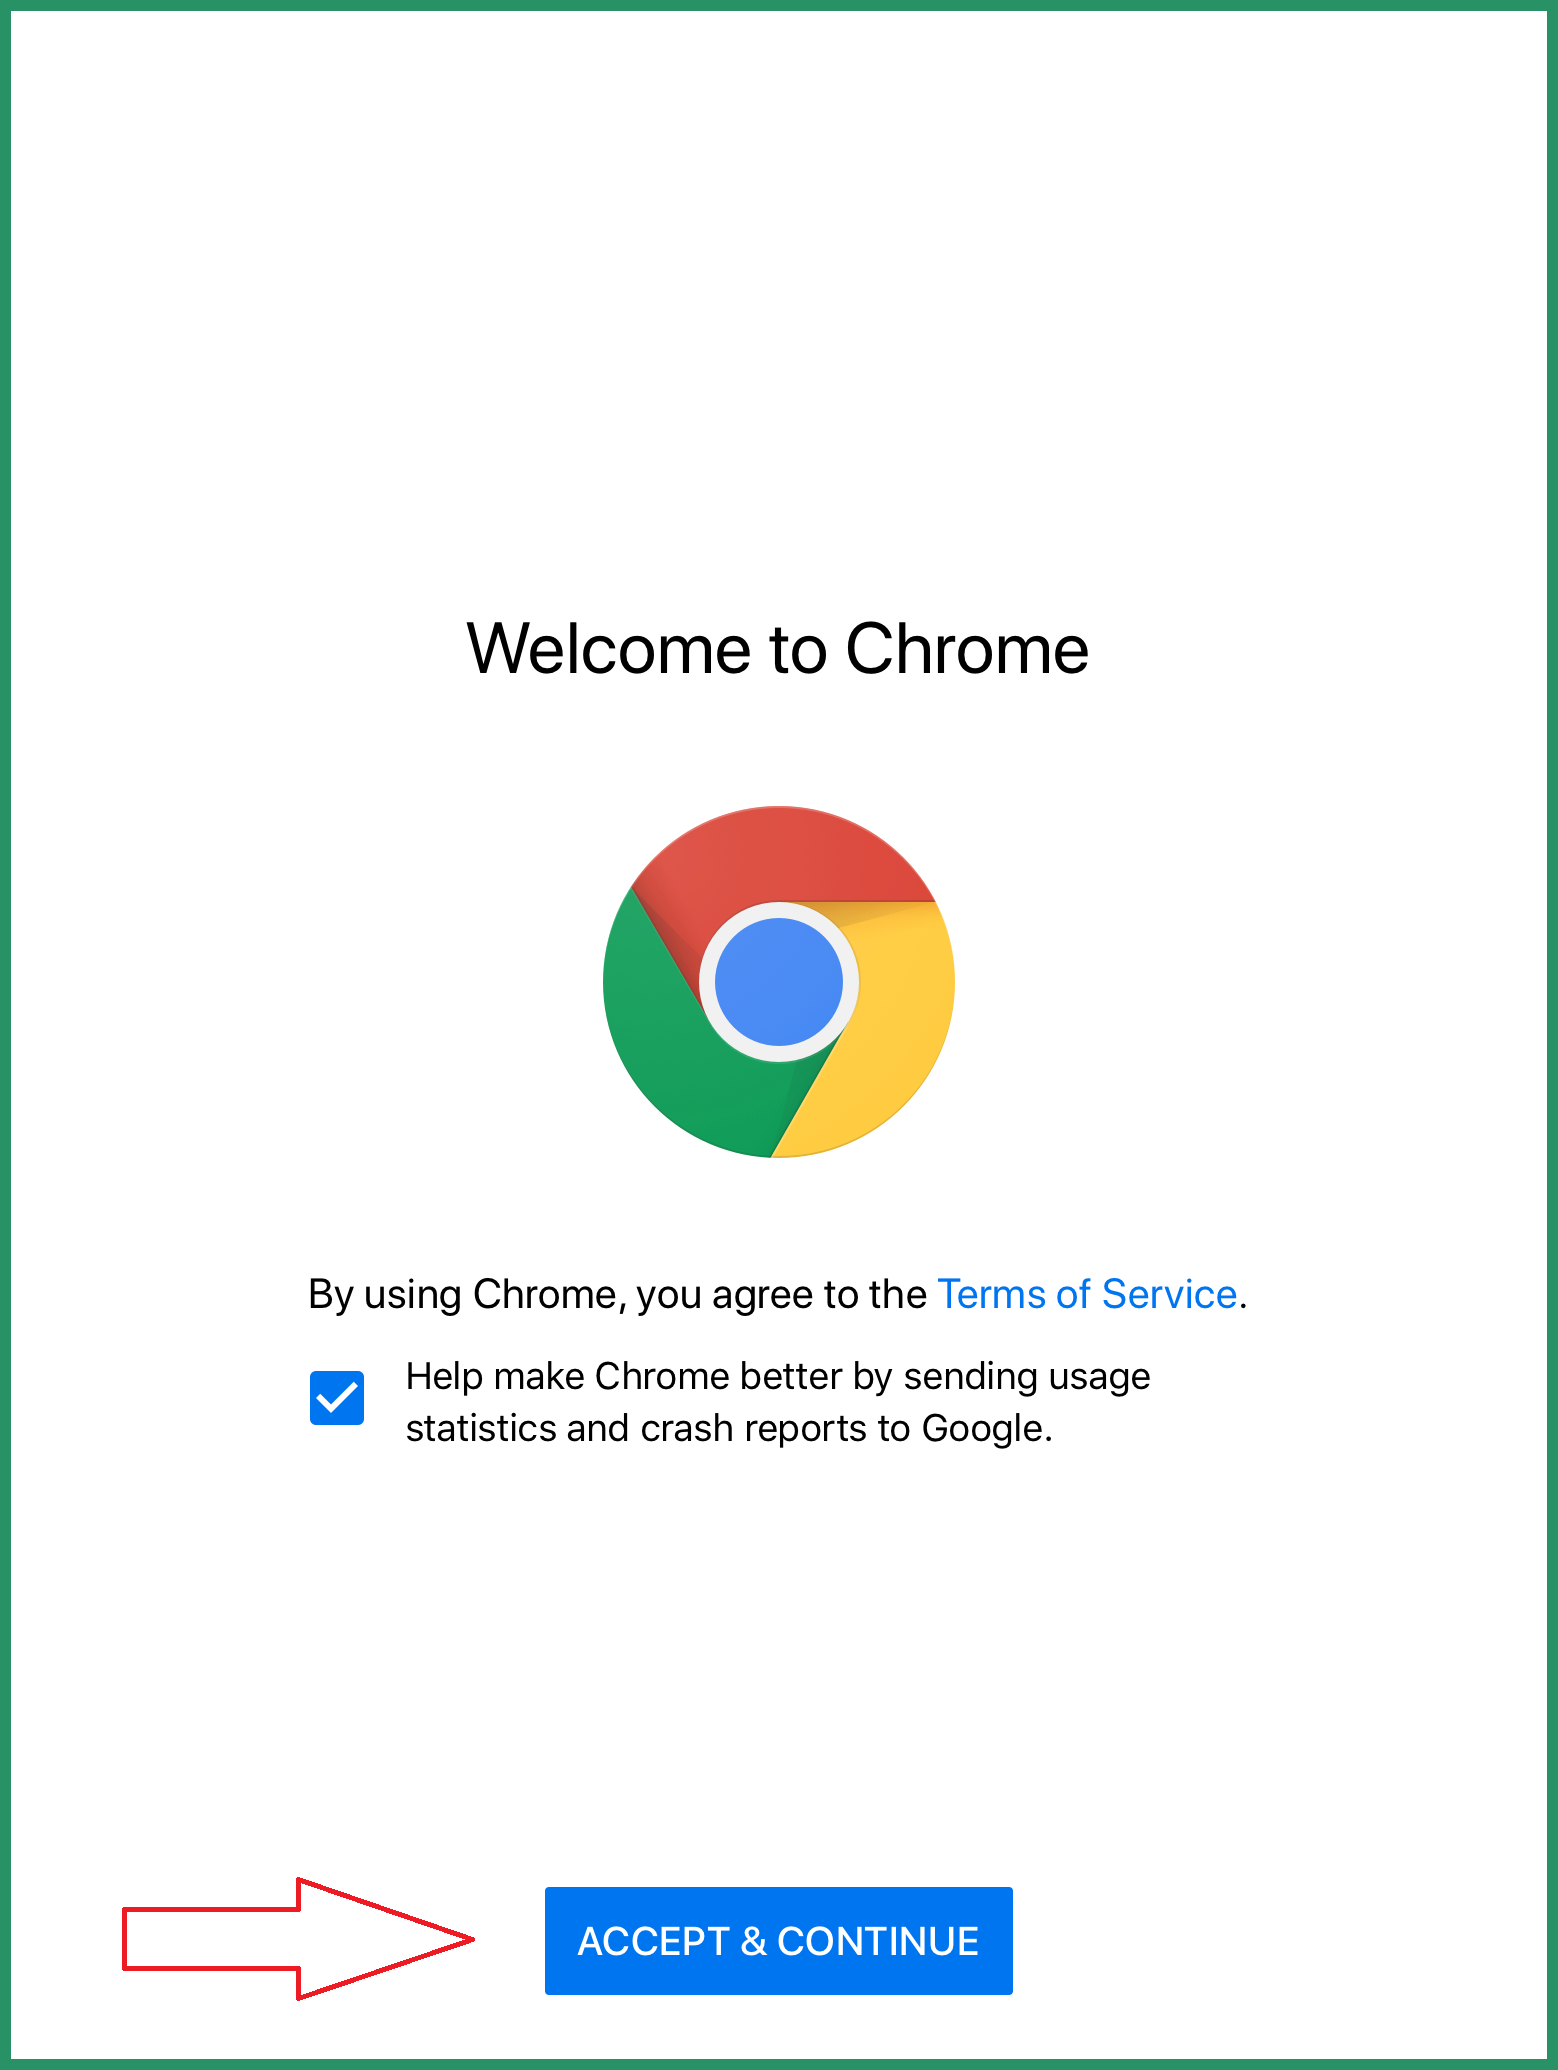
Congratulations, you opened Chrome! Now continue to Topic 2 (below) to learn how to sign in!
Topic 2: How to sign into Google Chrome
IMPORTANT: If you have already used Chrome, scroll down to Step 1.a
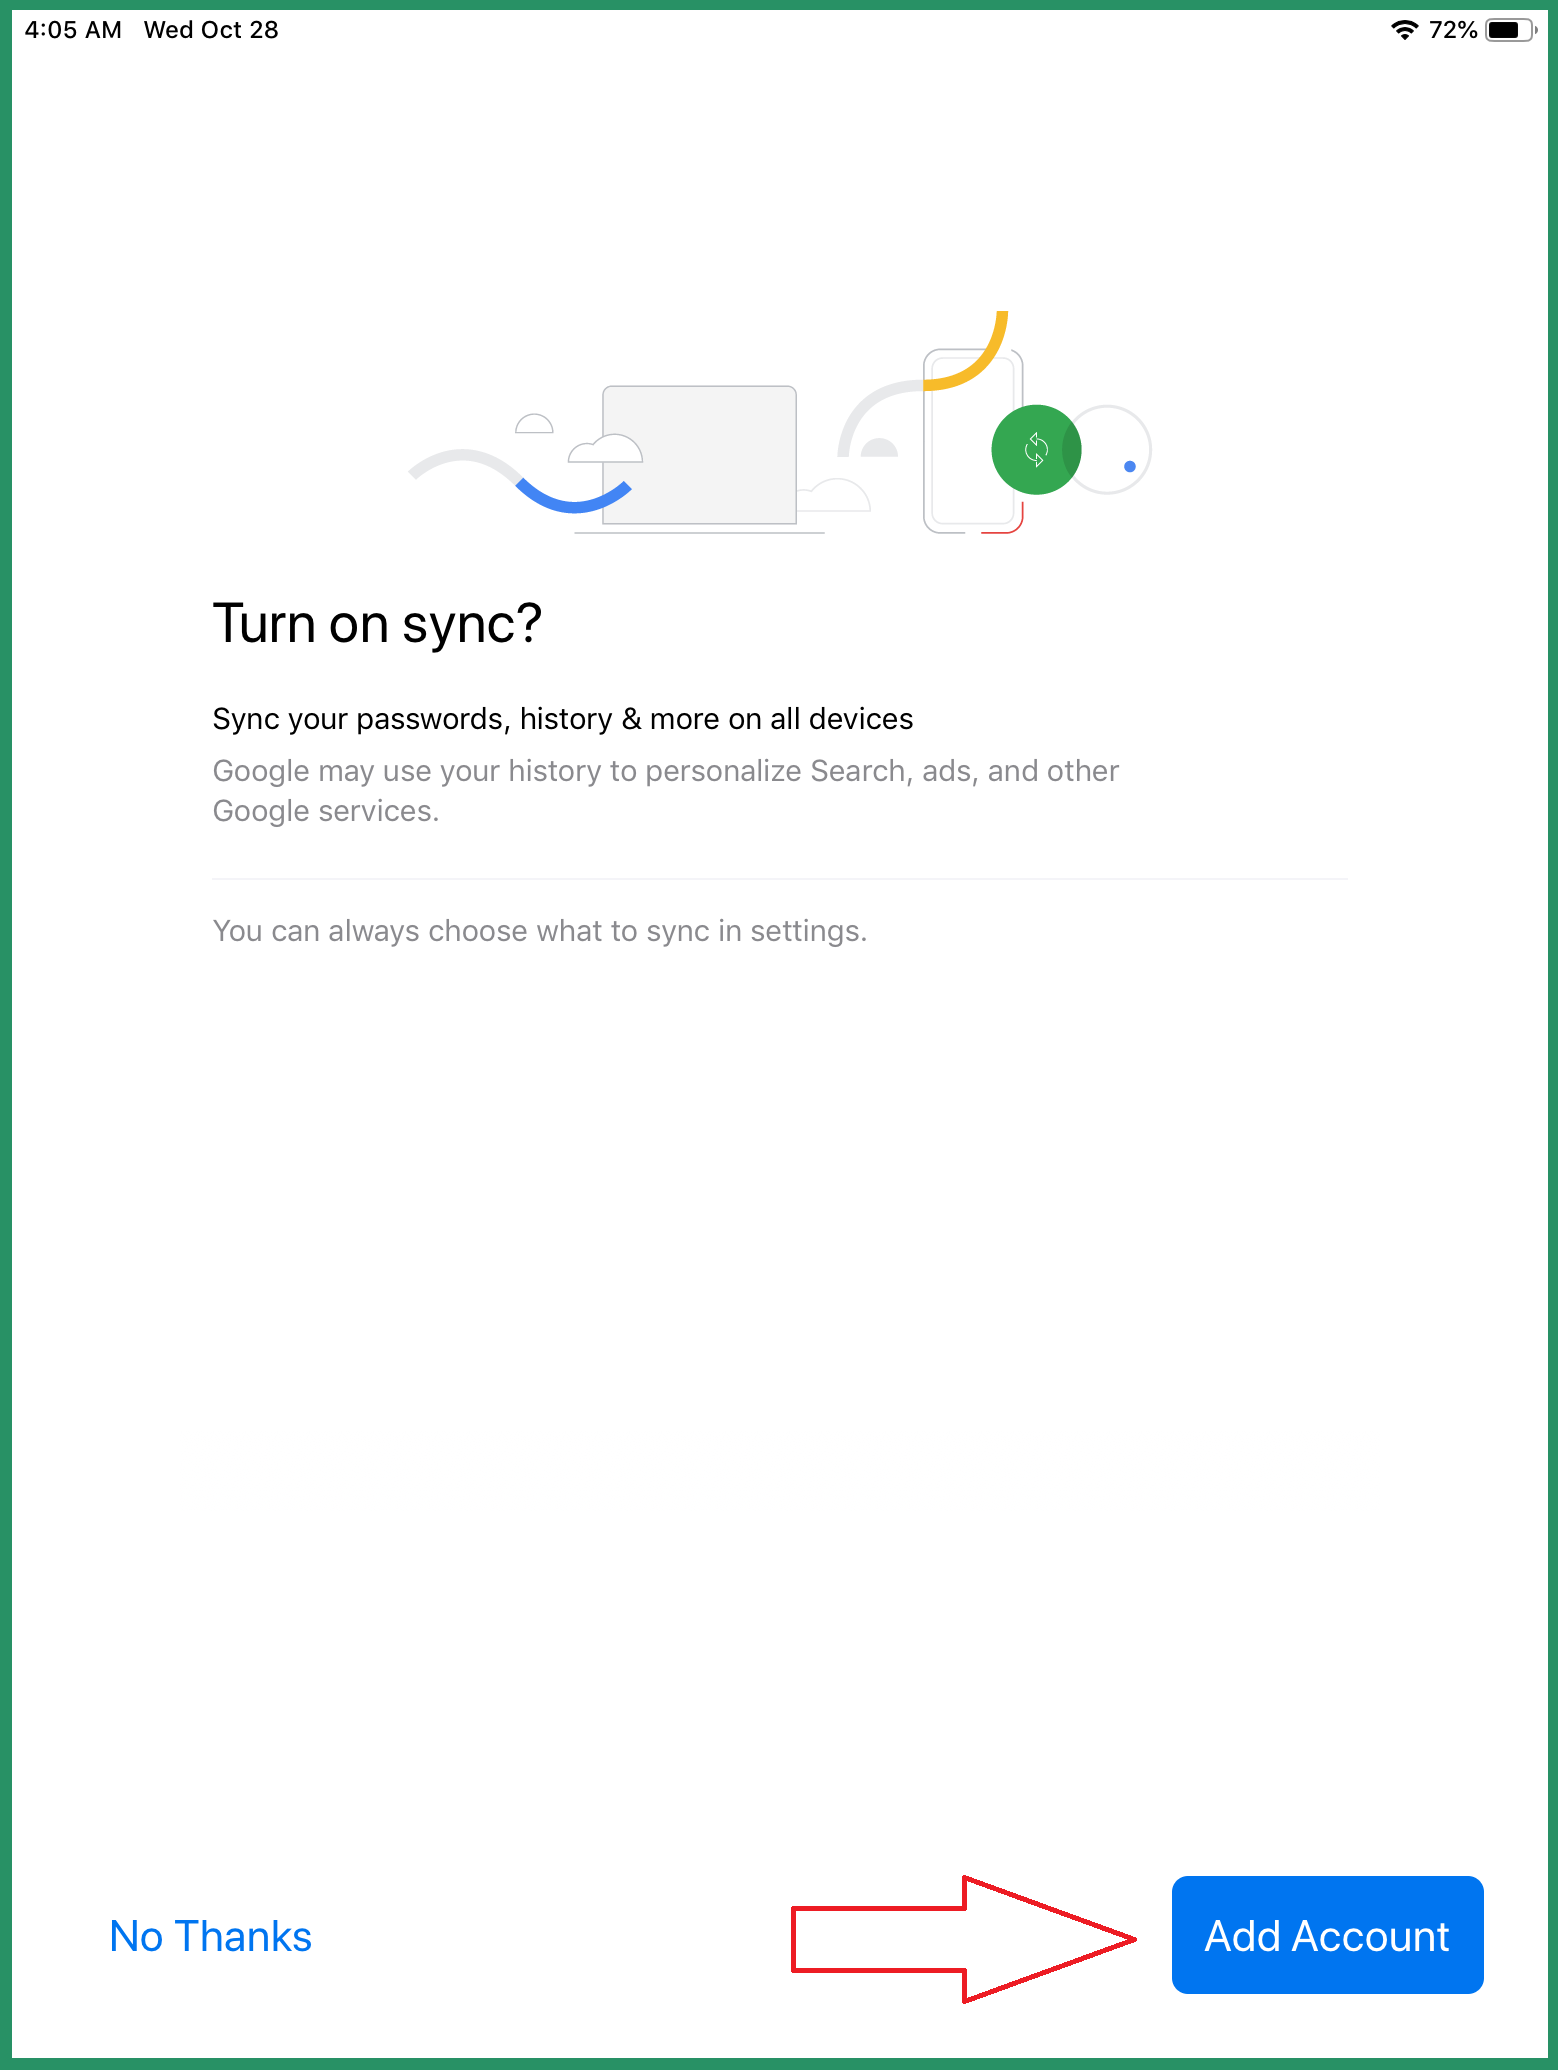
Next, select 'Add Account'
If you have already used Chrome, complete the following steps, otherwise continue to Step 2.
Proceed to Step 2 below.
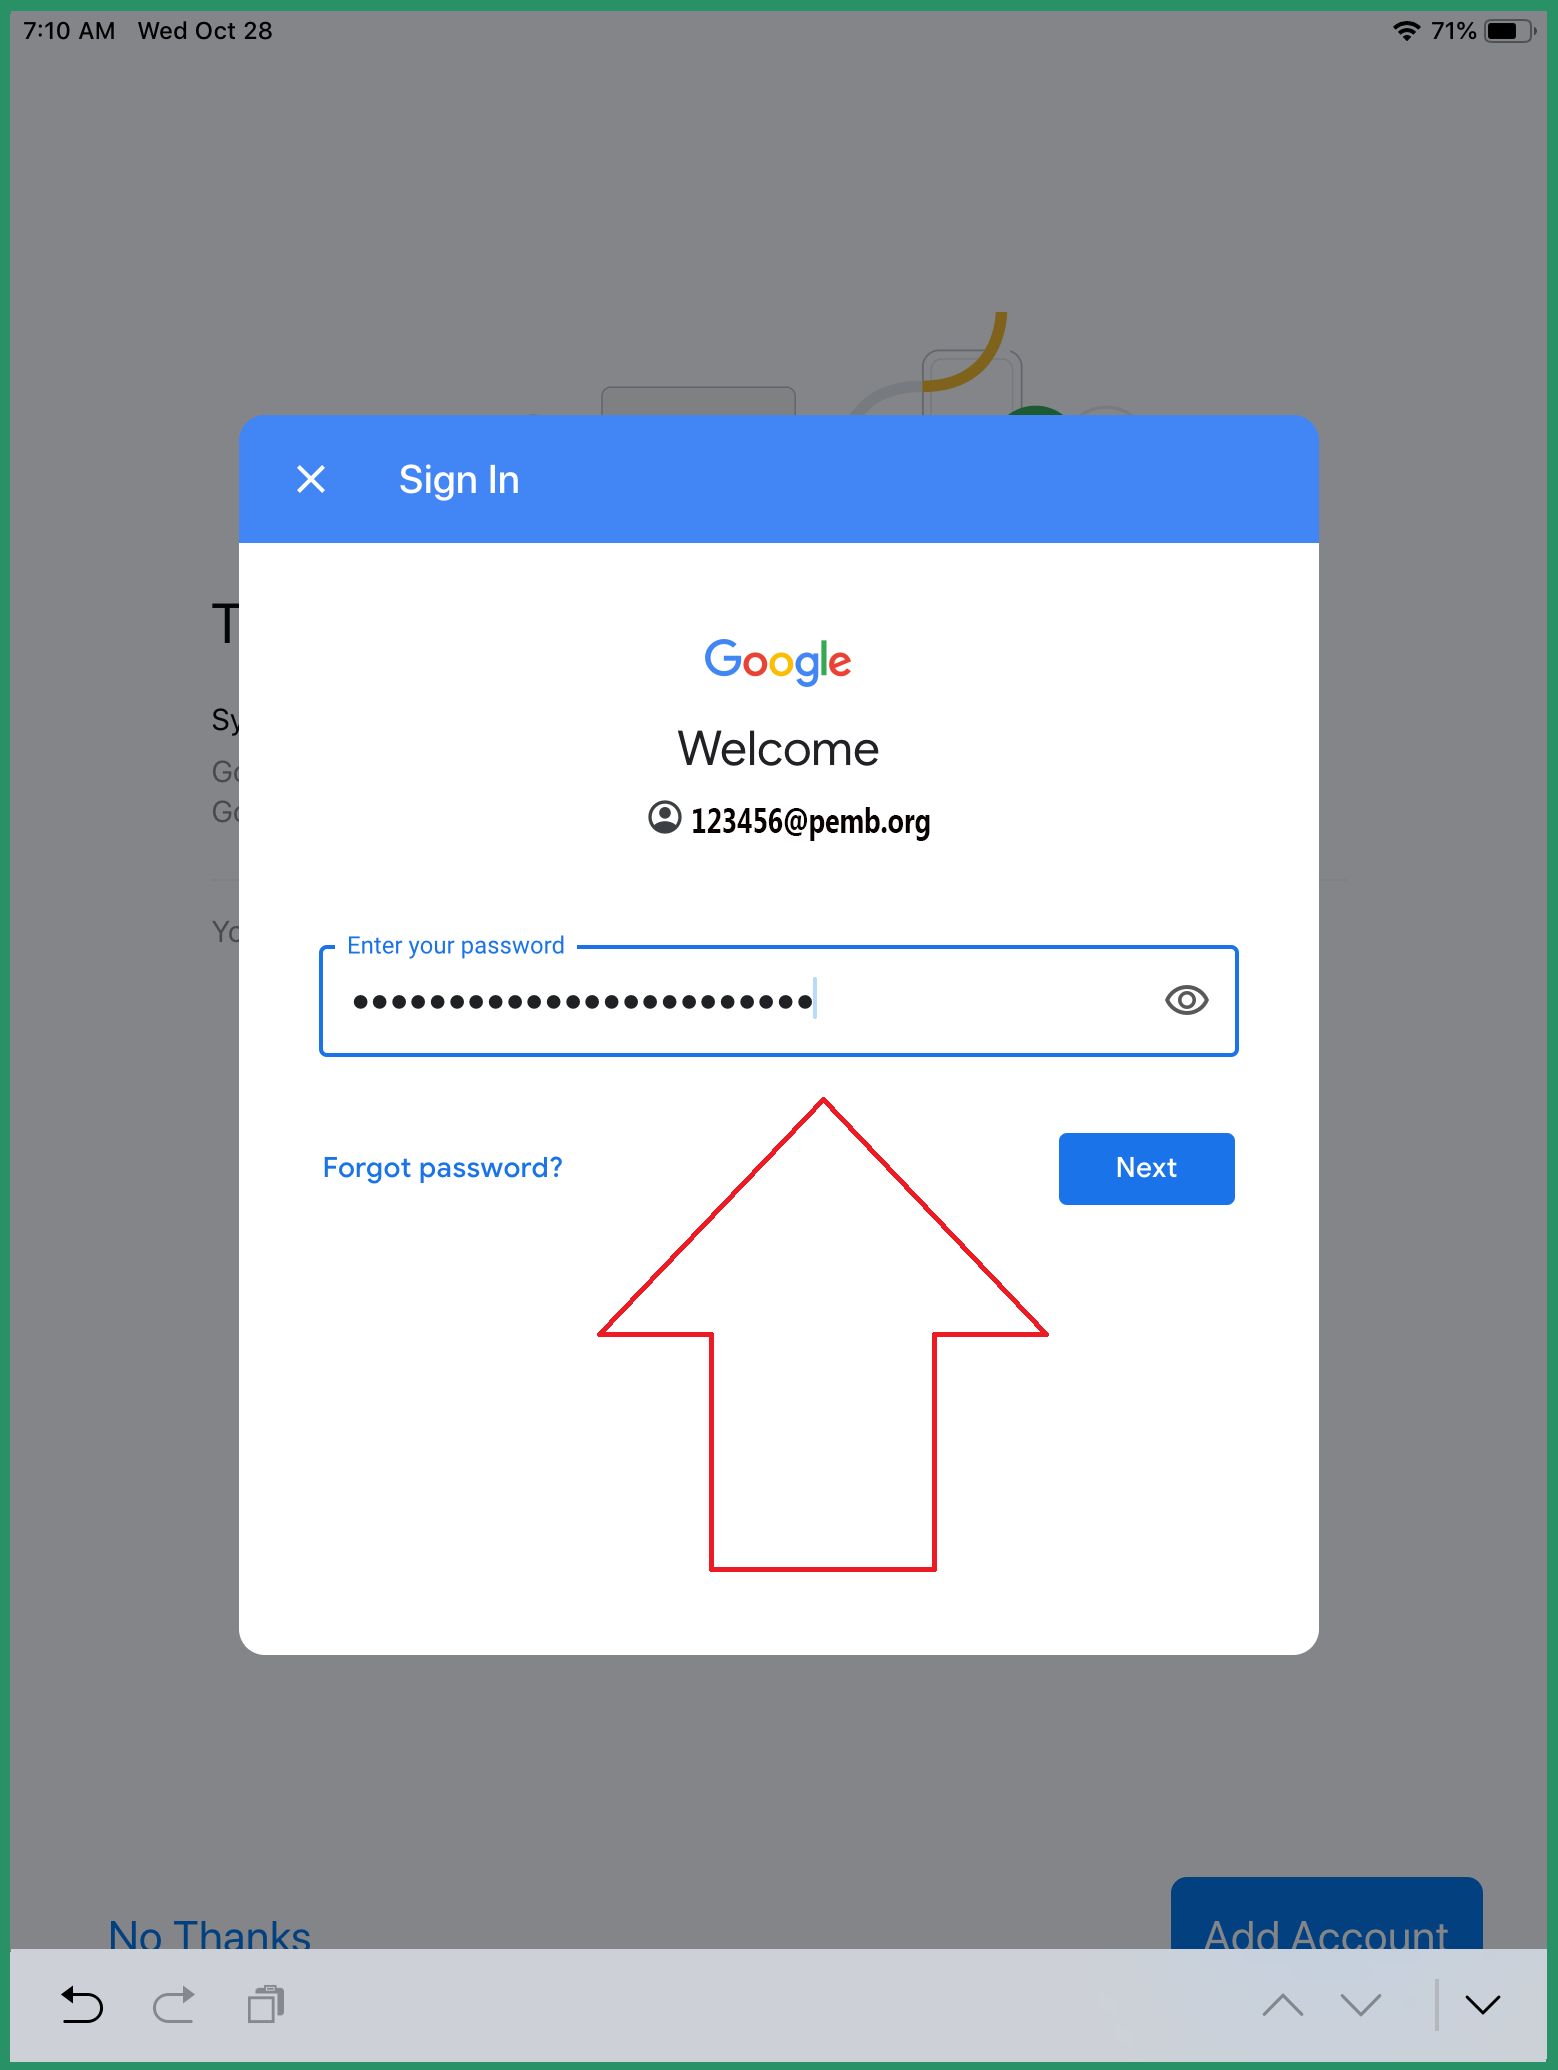
The next step is to sign in with your school email address. Students use their ID followed by @pemb.org. For example, [email protected].
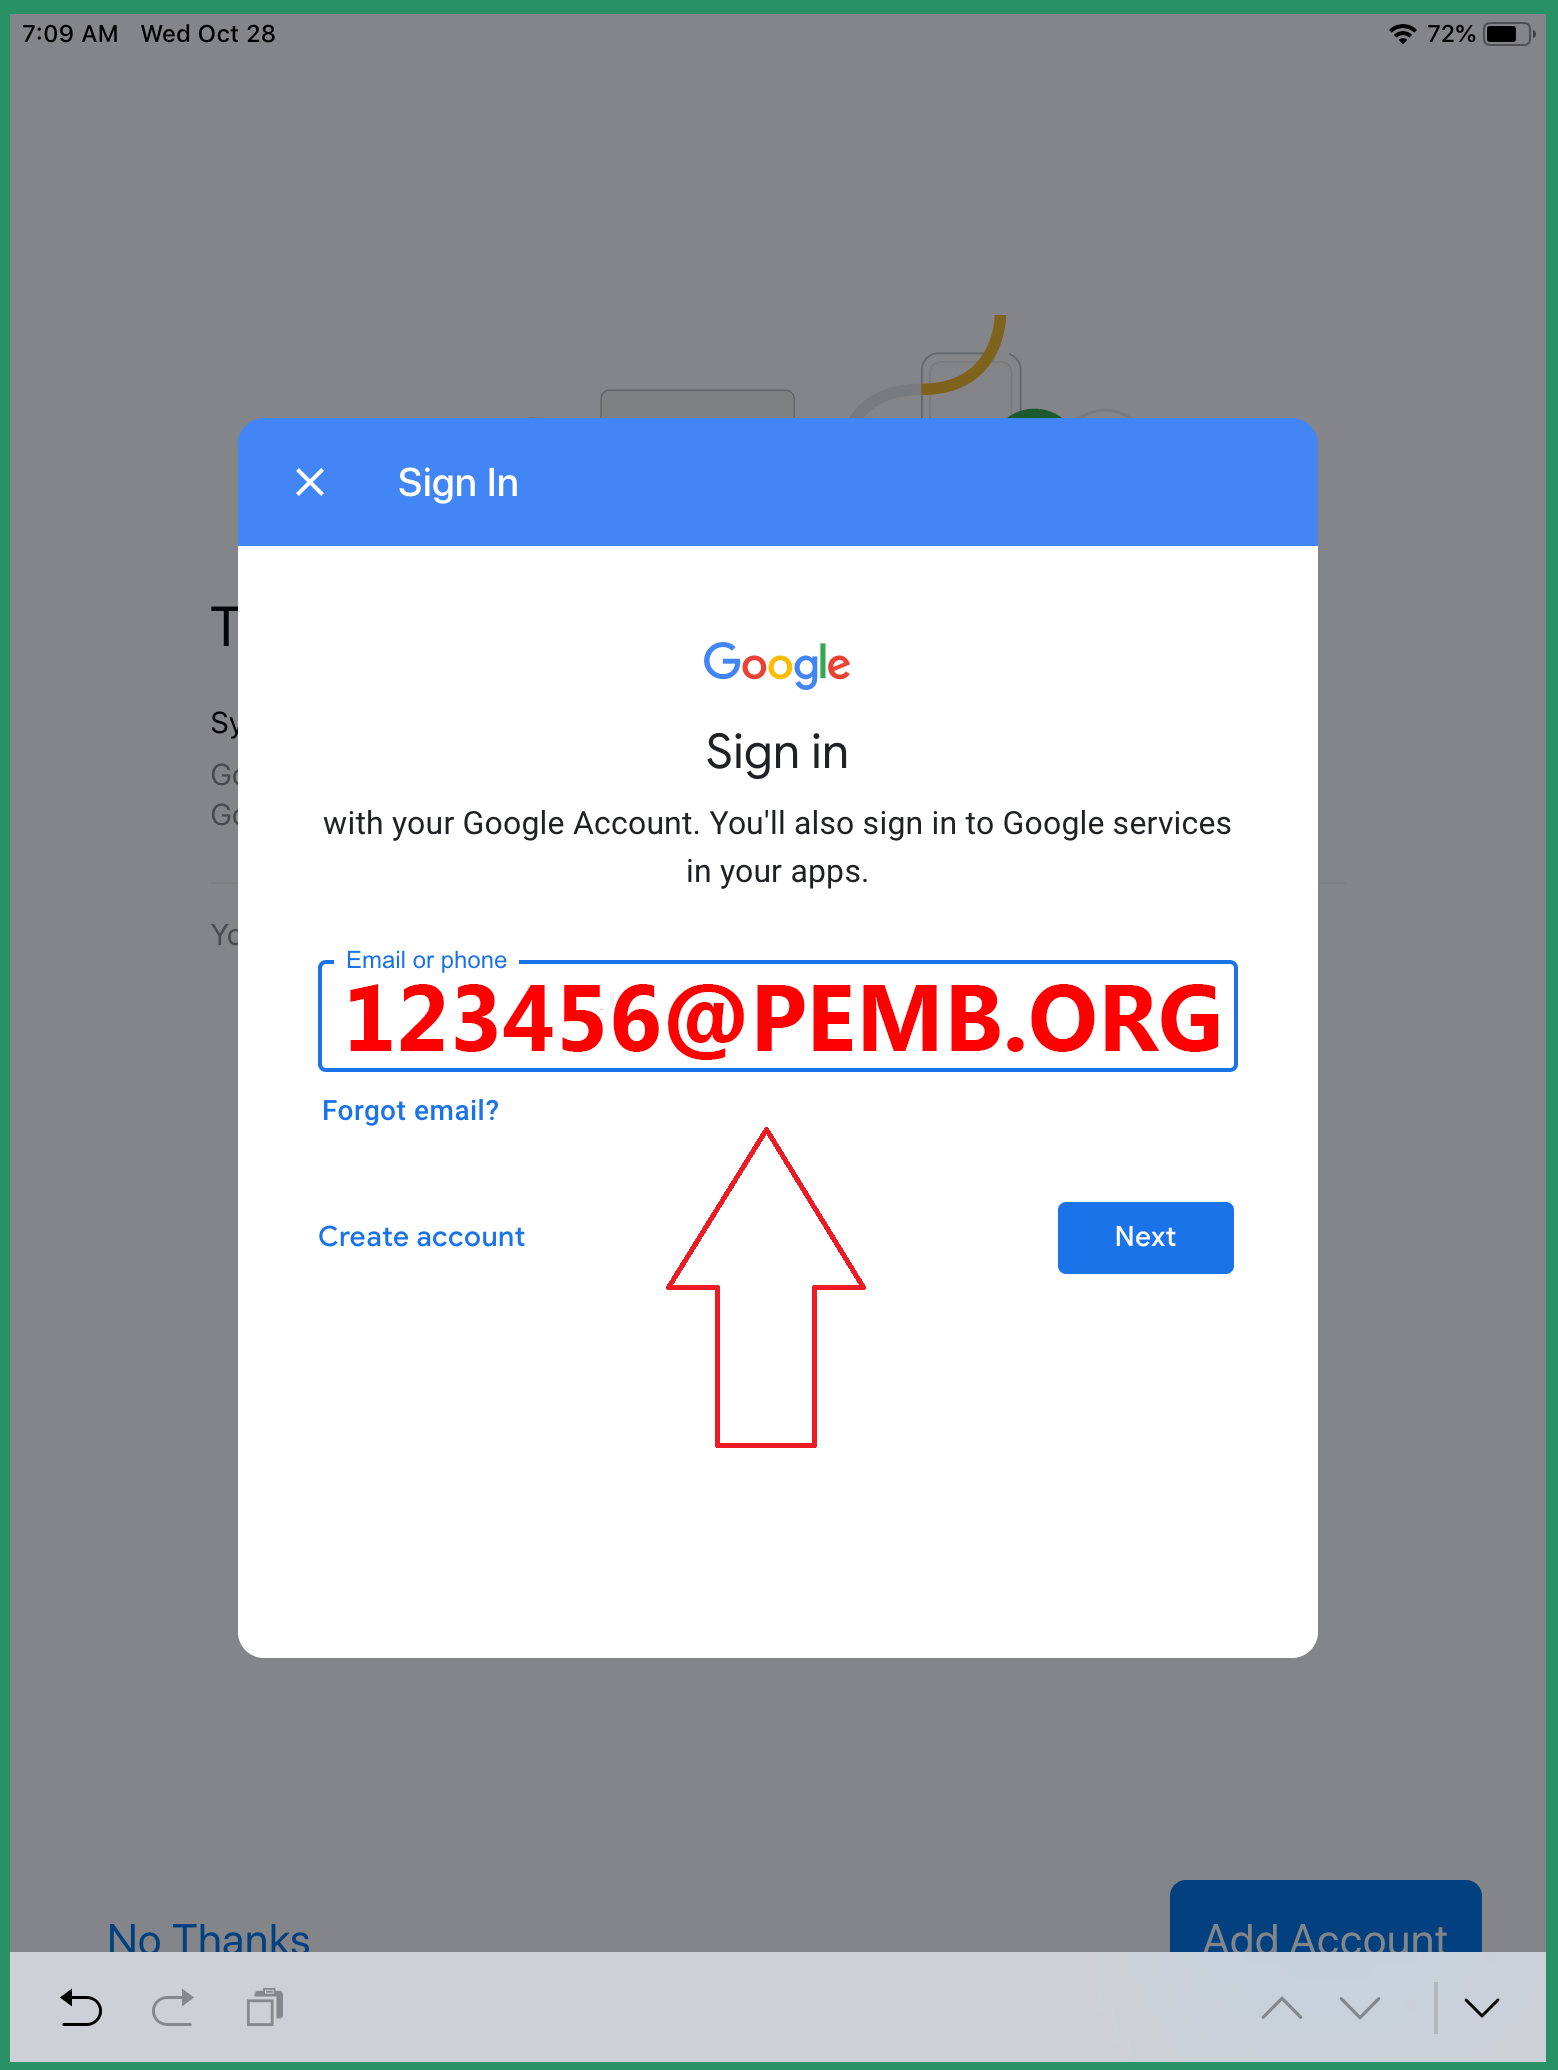
Next, enter your password.
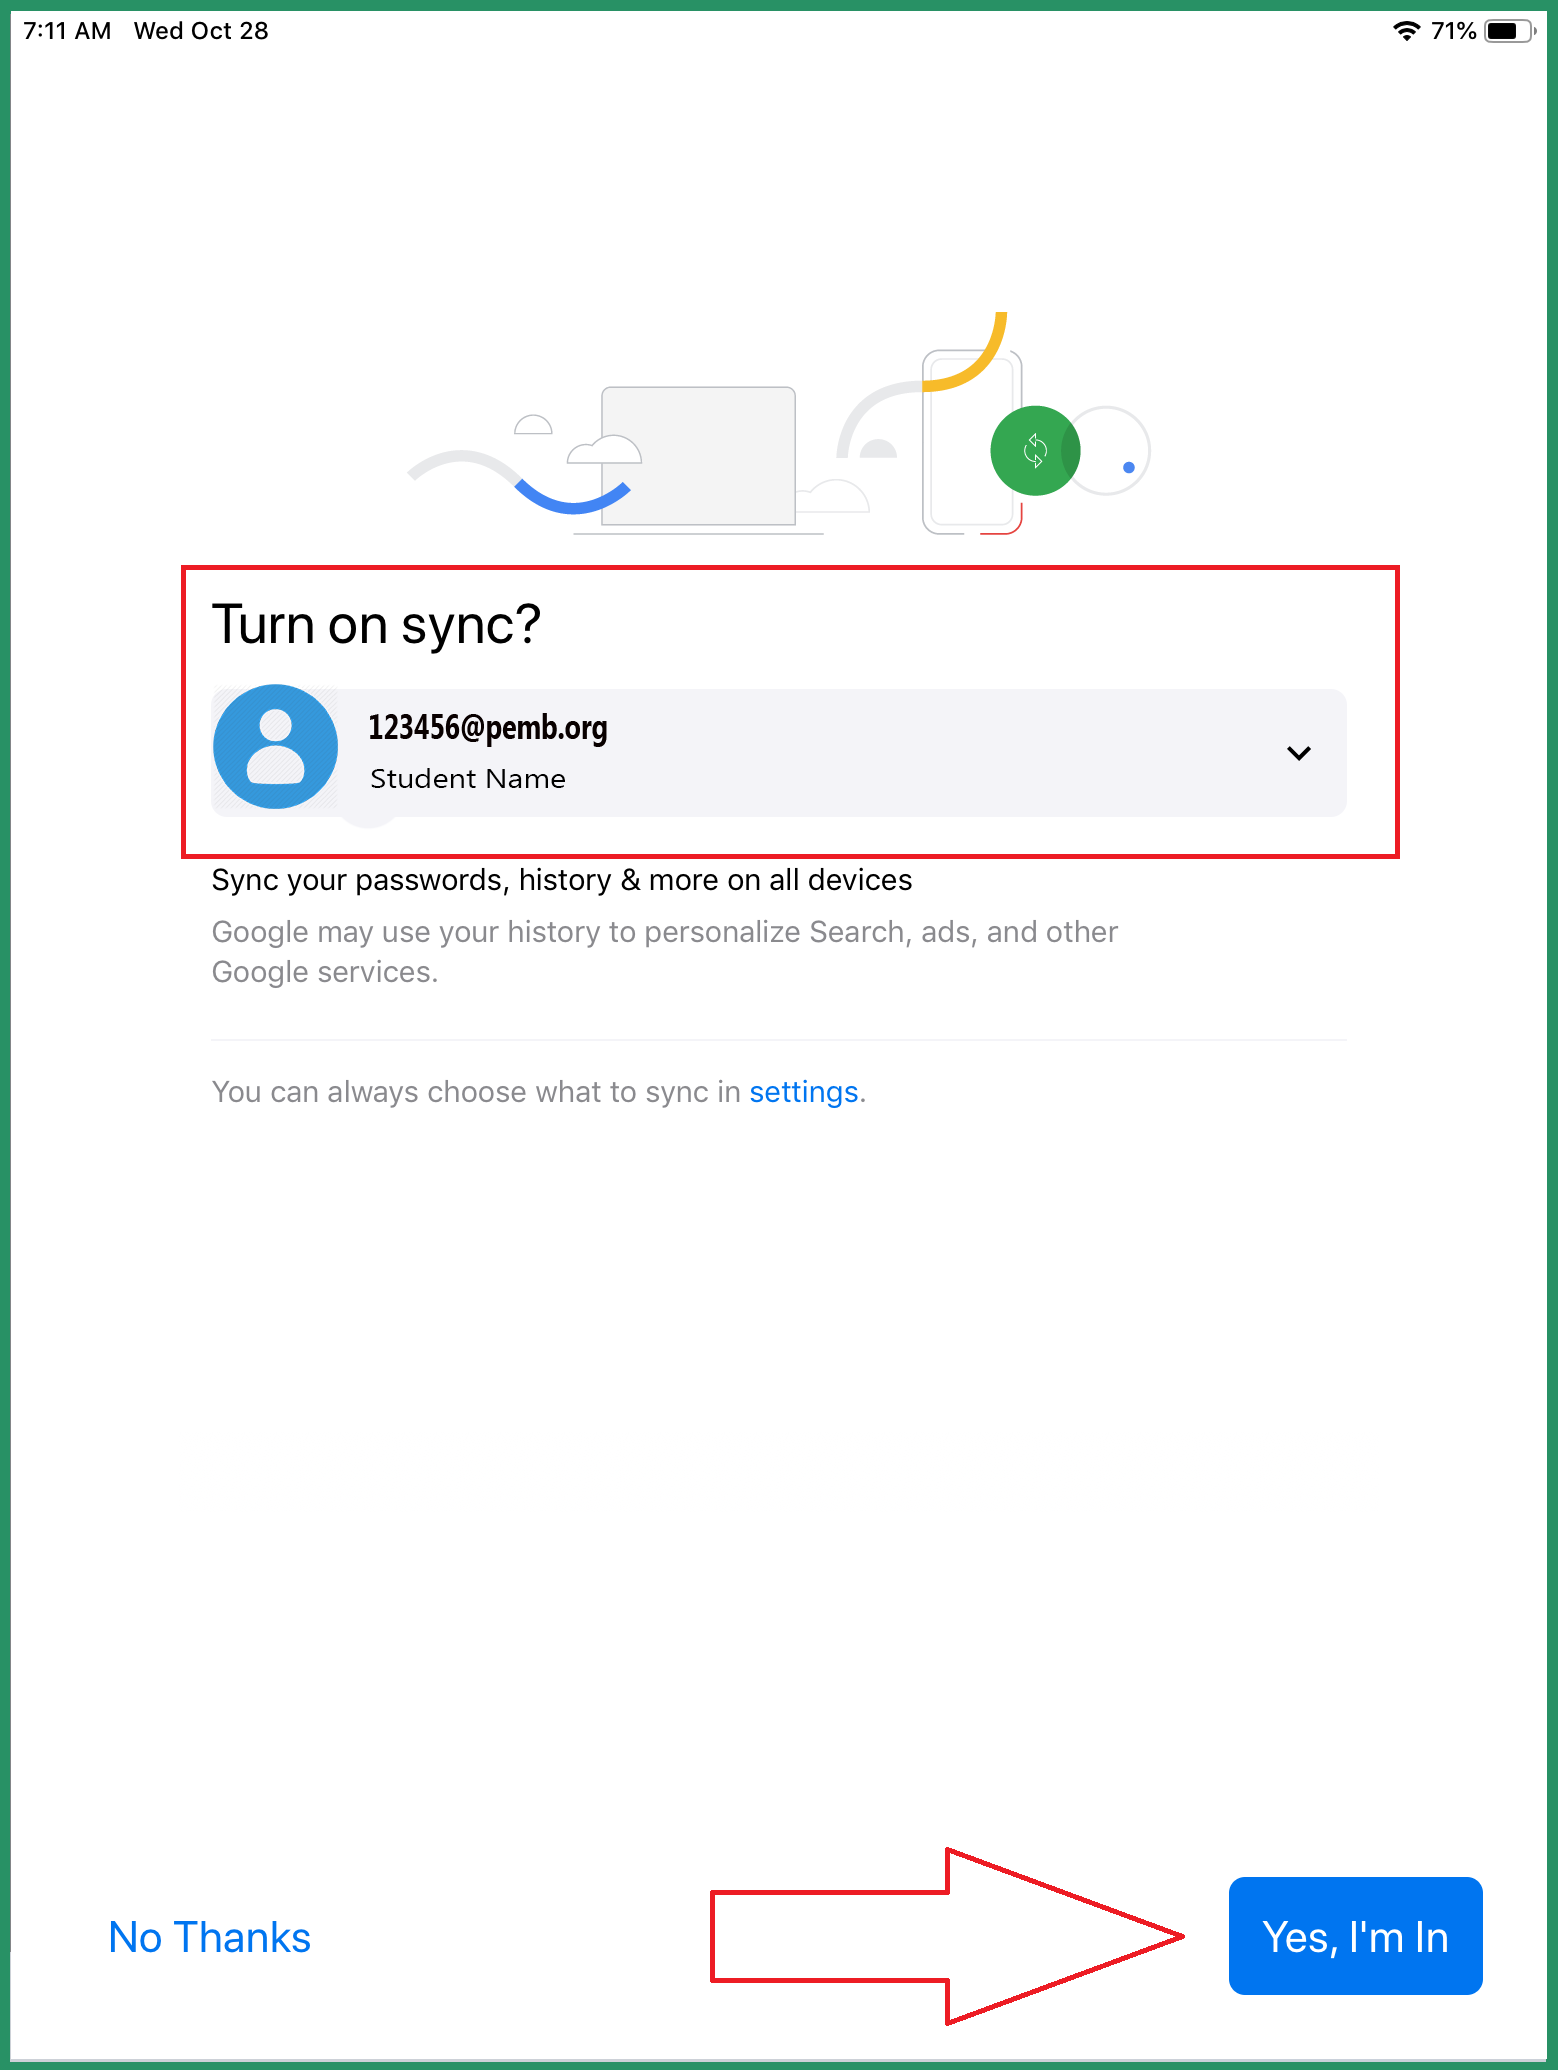
Next, select 'Accept and Sign in'
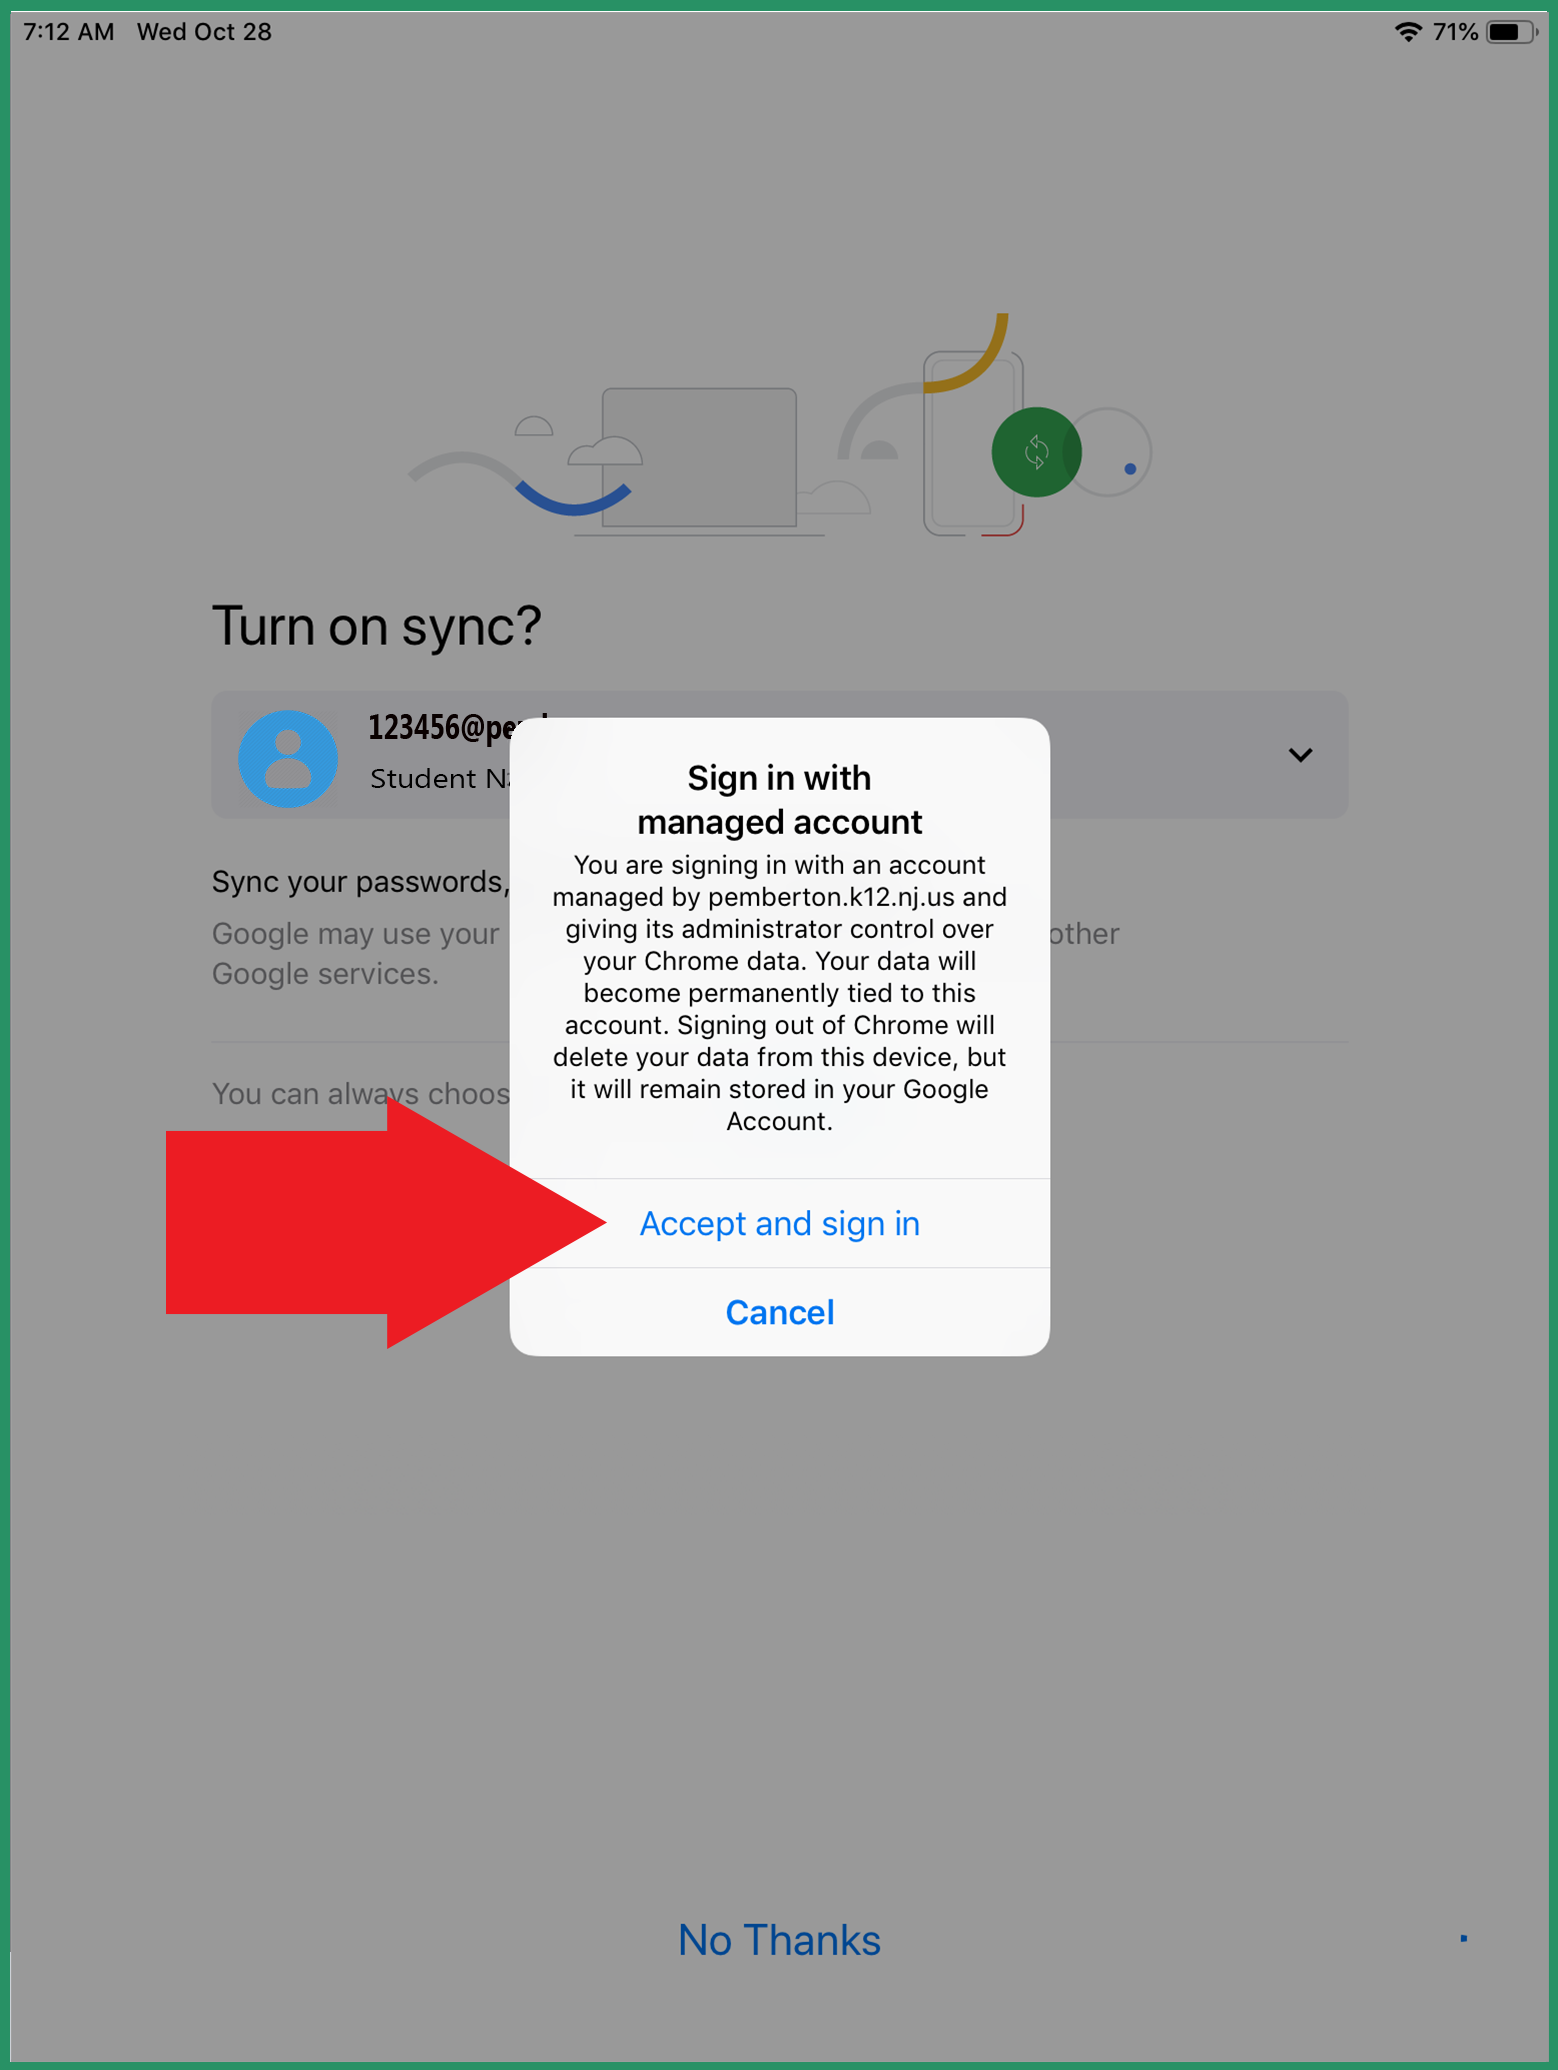
Congratulations, you are now signed into Chrome!
Topic 3: How to determine if you are signed into Google Chrome.
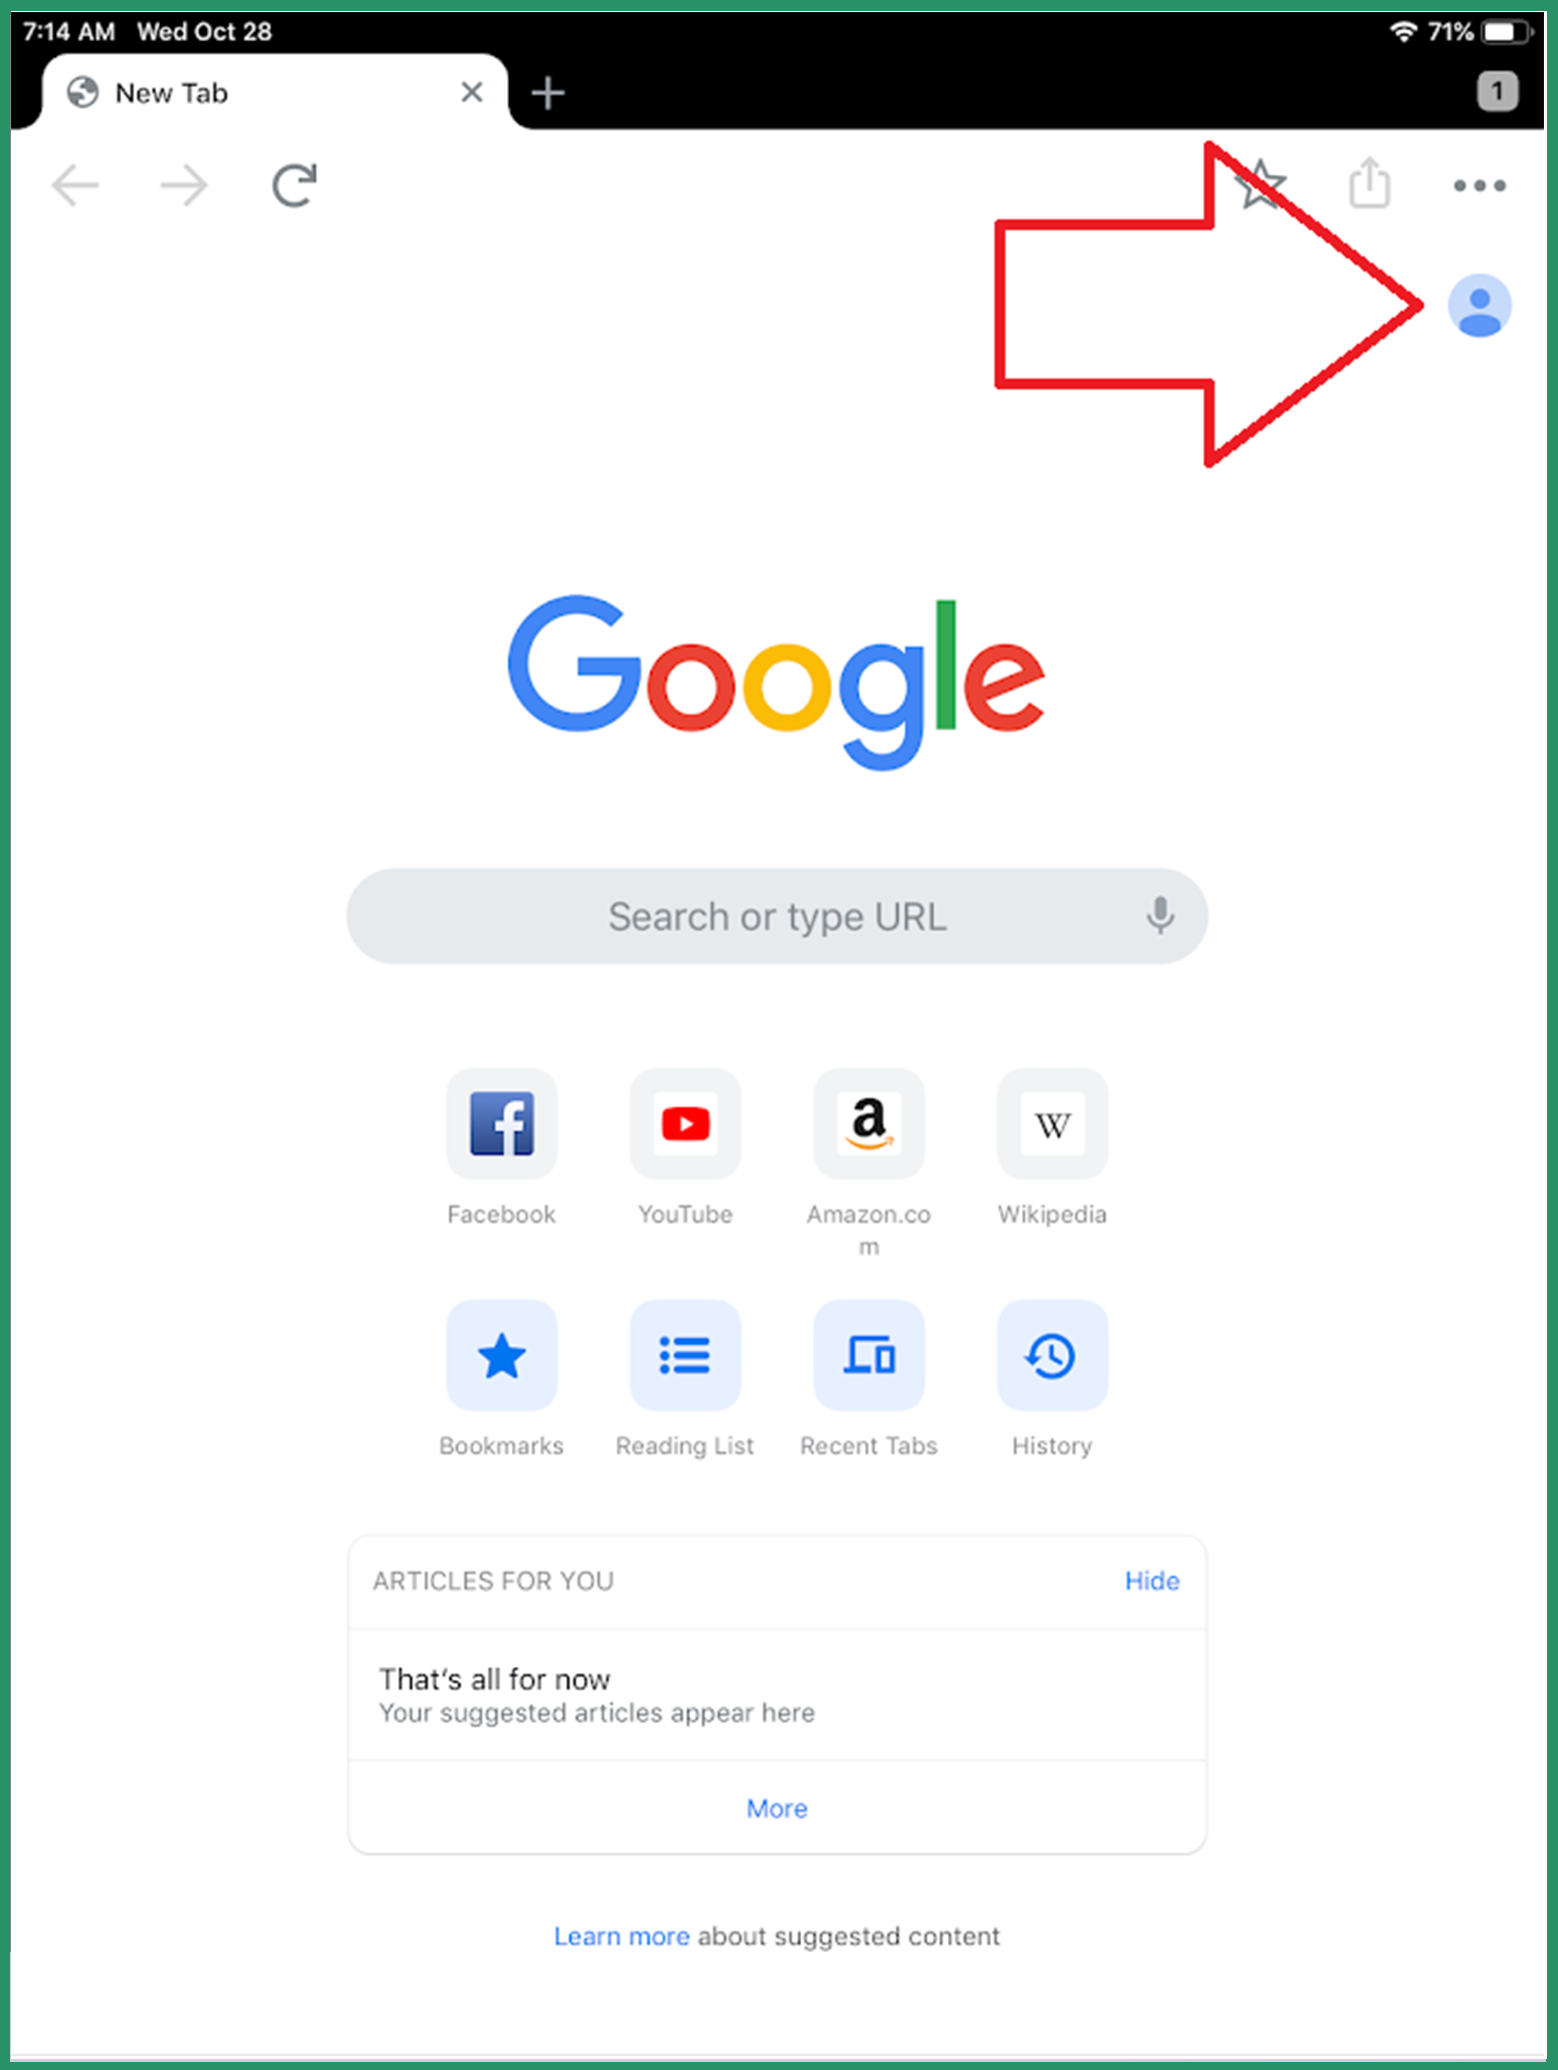
Step 1 - Tap on the user icon in the upper right-hand corner.
Step 2 - If you are signed in, you will see your account information in the area outlined below.
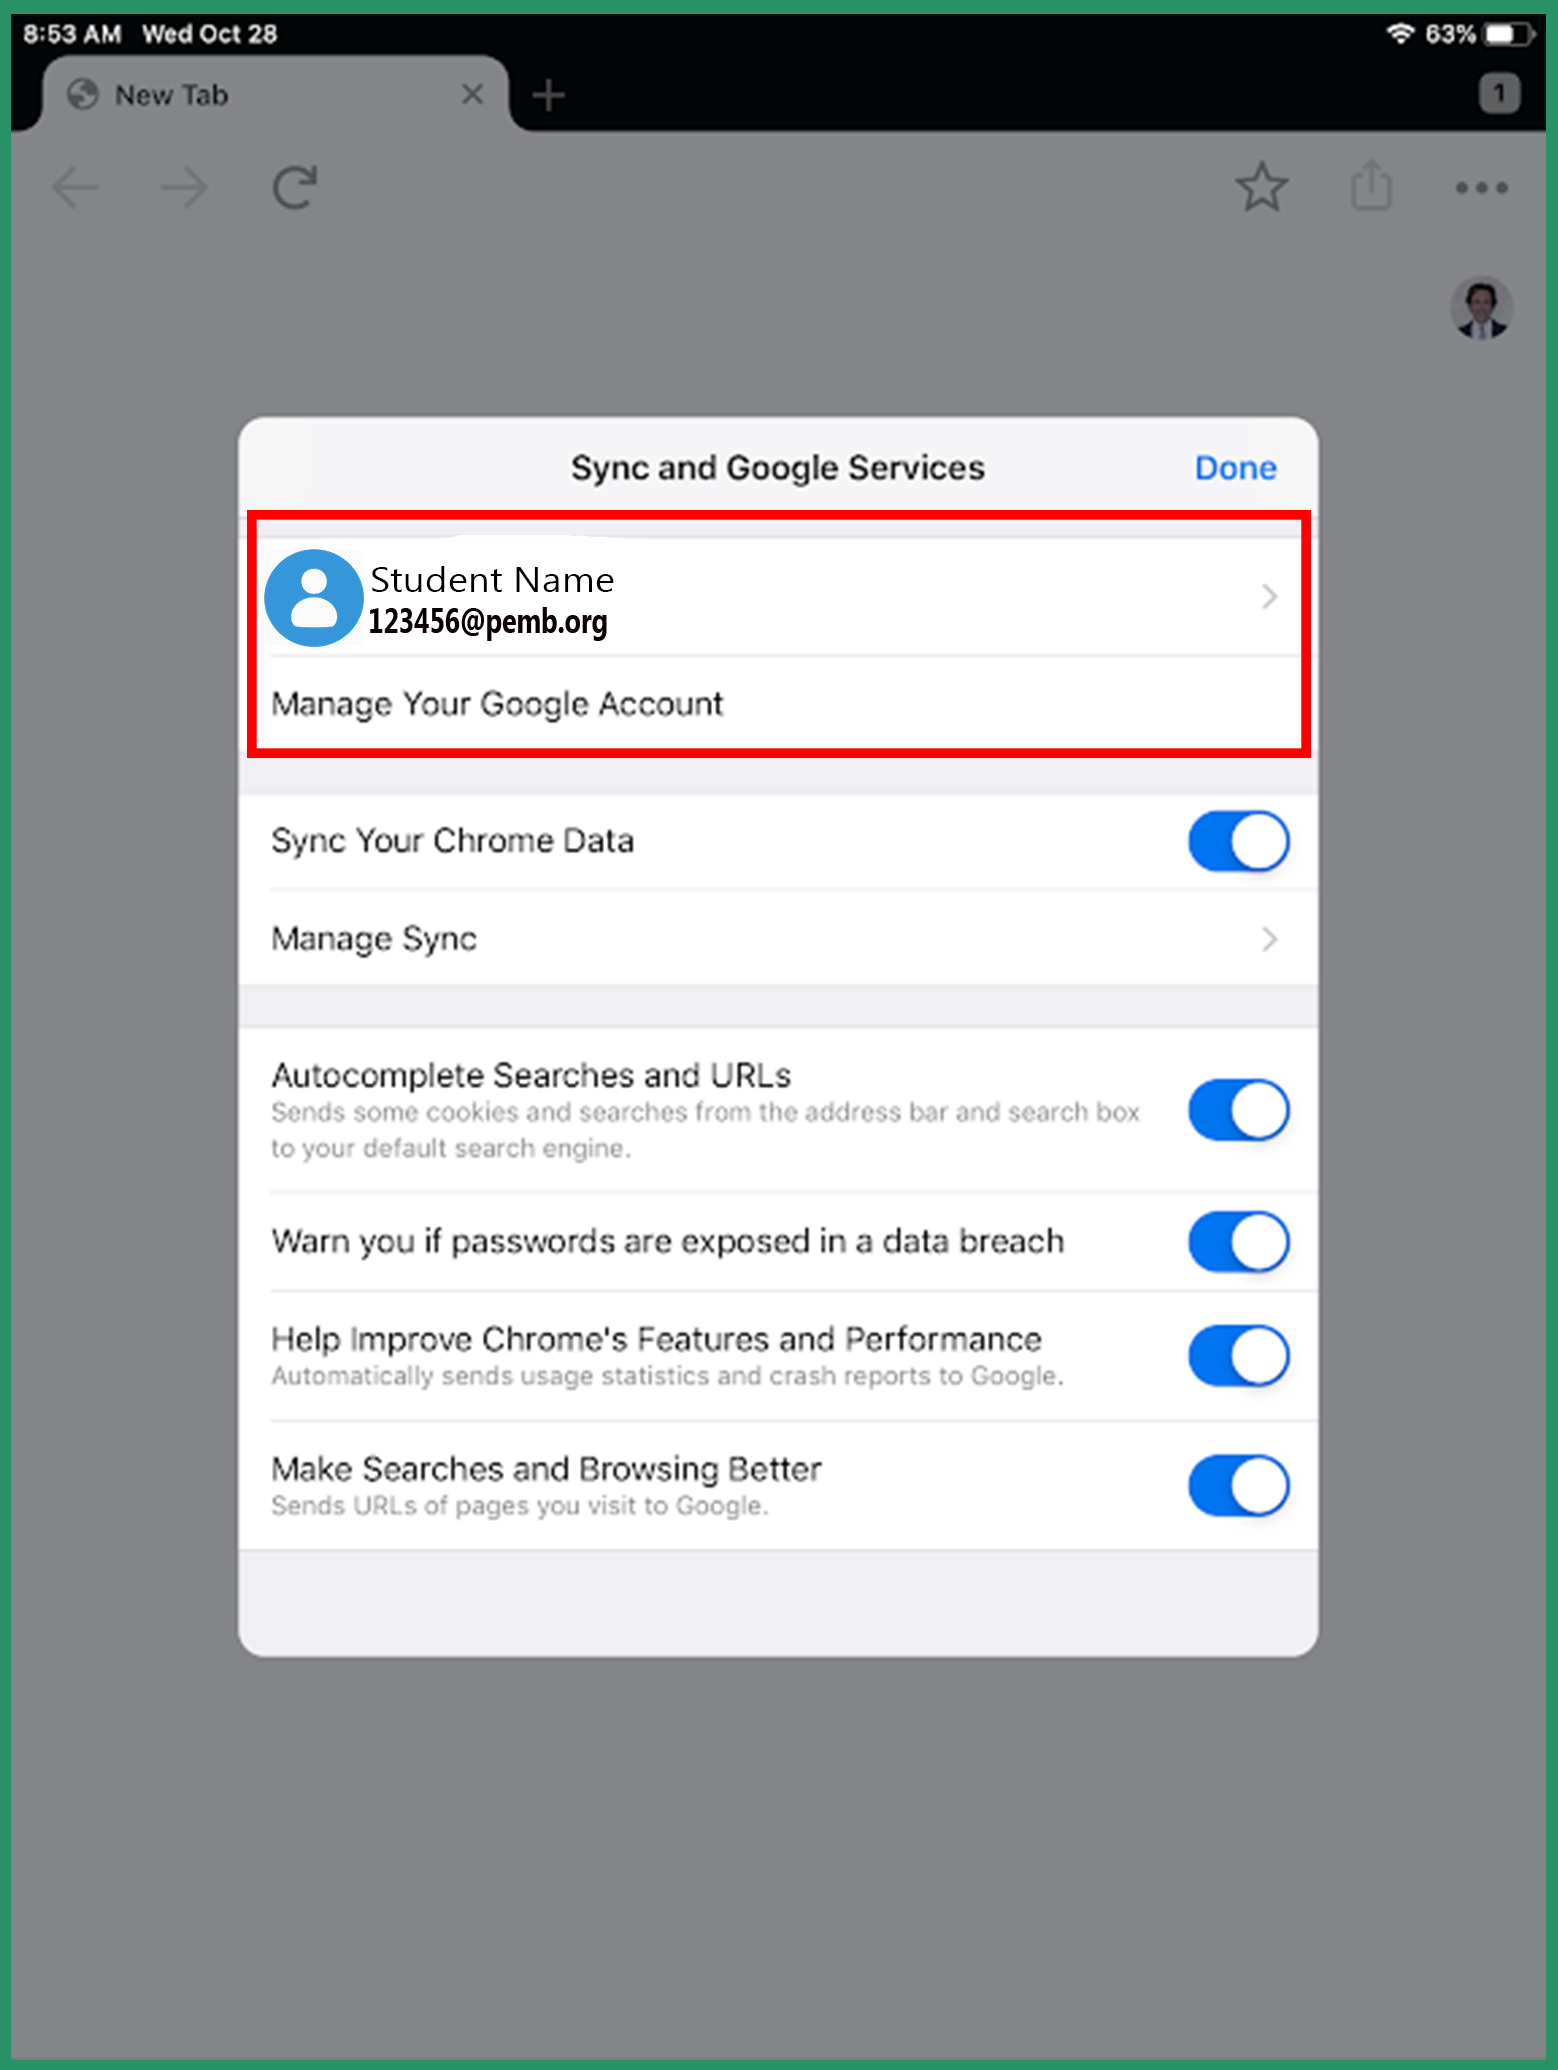
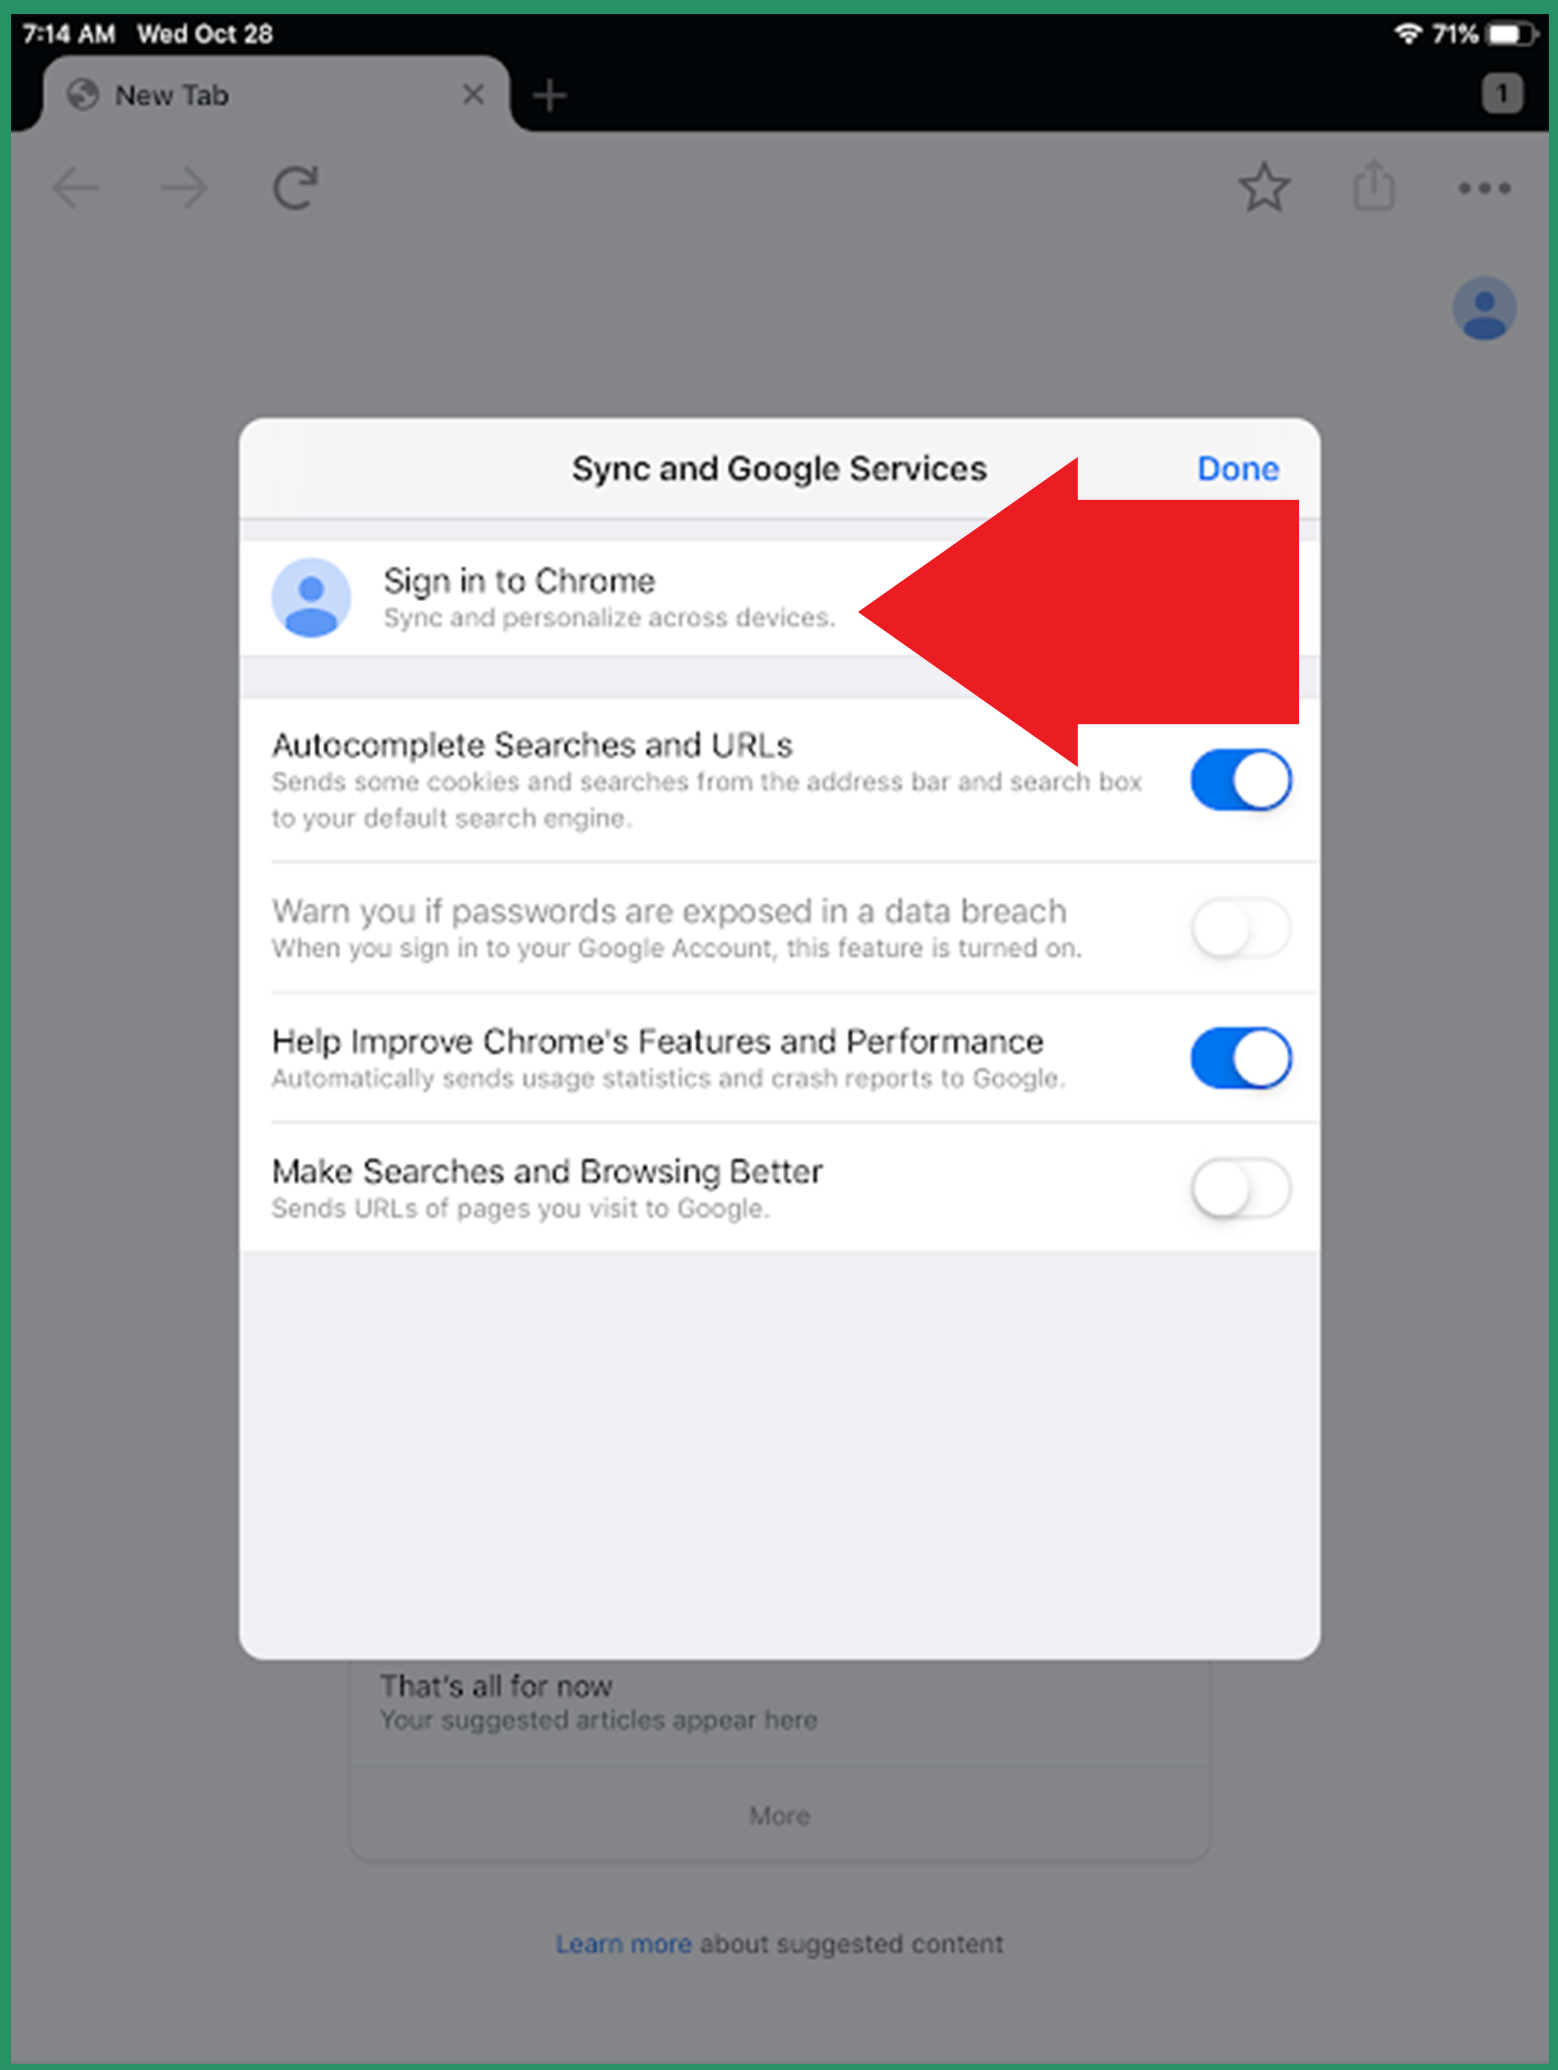
Step 3 - If you do not see your information in the area above, select "Sign Into Chrome" as pictured below, and then complete Step 2 and Step 3 earlier in this article.
Note: If you see the wrong account you or someone else signed into, click on their account. You will see an option in red to delete this account and it's data. Please complete this step to ensure the wrong account is not accidentally used on the iPad.

